In this post, you will find all the details to install Oracle Data Integrator 12.2.1.4.0 on Oracle Linux 9.4, plus creating the back end repositories (Master & Work repositories).
Also, you find the steps to create a standalone agent along with its standalone domain and how to start/stop it.
Environment Details
| Item | Value | Remarks |
| Server Name | HOST-01 | |
| IP | 11.11.11.11 | |
| CPU # | 2 | |
| Memory | 32 GB | |
| Storage | 150 GB | |
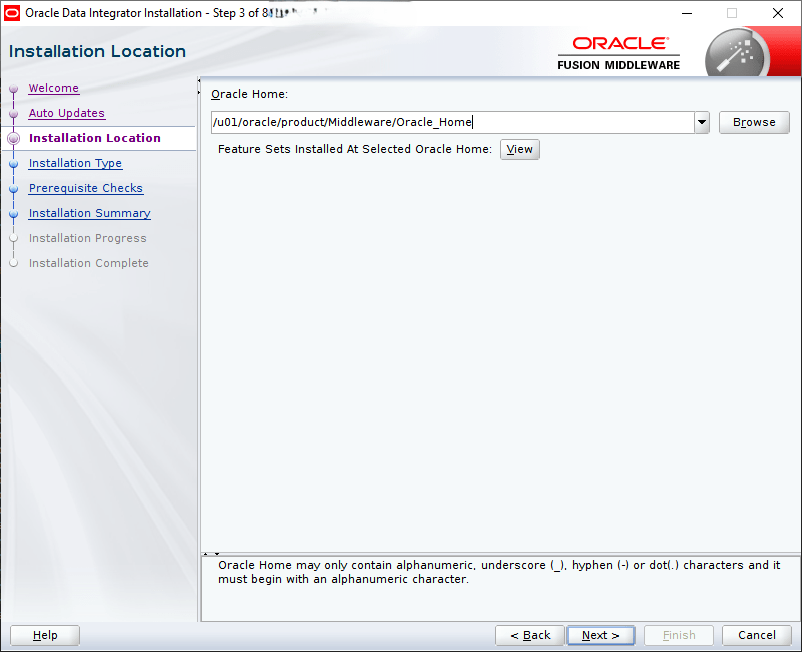
| ORACLE_HOME | /u01/oracle/product/Middleware/Oracle_Home1 | 12.2.1.4.0 |
| Agent Home | /u01/oracle/product/Middleware/Oracle_Home1/user_projects/domains/base_domain |
Preparation
Check Certification


The certified JDK was jdk1.8.0_211 or later and it has to be 64 bit
Required Software
- Oracle Database 19c è already installed on another server, with database called ODI created for the ODI Repositories.
- Oracle Data Integrator 12c (12.2.1.4.0) software
- Oracle Linux x86-64 operating system (OL7 or OL8 or OL9) è Oracle Linux 9.4 is already installed
- Java Development Kit (JDK) 1.8 u211 or later (only JDK 8)
- A supported web browser (Firefox, Chrome, Safari, Internet Explorer)
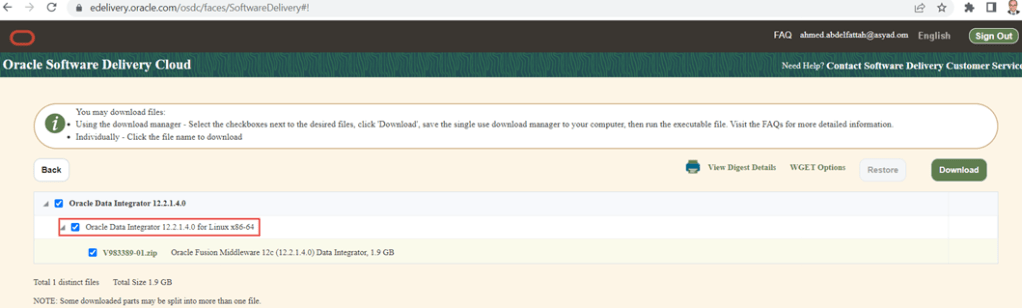
Download Software
- Download Oracle Data Integrator 12.2.1.4 on installation on Linux
https://www.oracle.com/middleware/technologies/data-integrator-downloads.html
(Download the file named V983389-01.zip and extract it to obtain the fmw_12.2.1.4.0_odi.jar file (size is about 1.9 GB)
- JDK
https://www.oracle.com/java/technologies/downloads/
You may refer to My Oracle Support document ID 1506916.1.
Get root access to the database server
- Get server IP
- Get root password
Install required tools
- putty
- FileZilla
- Maxterm
Stage all software
- Ensure that the stage directory and all files are owned by the oracle user

Installation Prerequisites
Hardware Requirements
A Linux server (Virtual or Physical) with Oracle Linux 7,8 or 9 installed and configured.
RAM: At least 32GB
CPU: At least 2 cores (for test)
Storage: At least 80 GB
ODI requires X11 as part of the installation process because the installer is GUI-based.
Install JDK
As root user:
dnf install jdk-8u421-linux-x64.rpm

- Create OS groups and users
- Install all the required OS packages
- ensure that the following packages/libraries are there:
| binutils |
| compat-libcap1 |
| compat-libstdc++-33 |
| compat-libstdc++-33.i686 |
| gcc |
| gcc-c++ |
| glibc |
| glibc.i686 |
| glibc-devel |
| glibc-devel.i686 |
| ksh |
| libgcc |
| libgcc.i686 |
| libstdc++ |
| libstdc++.i686 |
| libstdc++-devel |
| libstdc++-devel.i686 |
| libaio |
| libaio.i686 |
| libaio-devel |
| libaio-devel.i686 |
| libXext |
| libXext.i686 |
| libXtst |
| libXtst.i686 |
| libX11 |
| libX11.i686 |
| libXau |
| libXau.i686 |
| libxcb |
| libxcb.i686 |
| libXi |
| libXi.i686 |
| make |
| sysstat |
| unixODBC |
| unixODBC-devel |
| motif motif-devel |
Additional
- Adjust the hosts file
- Change the oracle user password
- Disable or Configure the Linux firewall
- Create oracle home directory
- Configure SSH tunnelling
- Modify oracle’s .bash_profile
- Unzip the software as oracle user
- Adjust the swap space to ab around 16GB
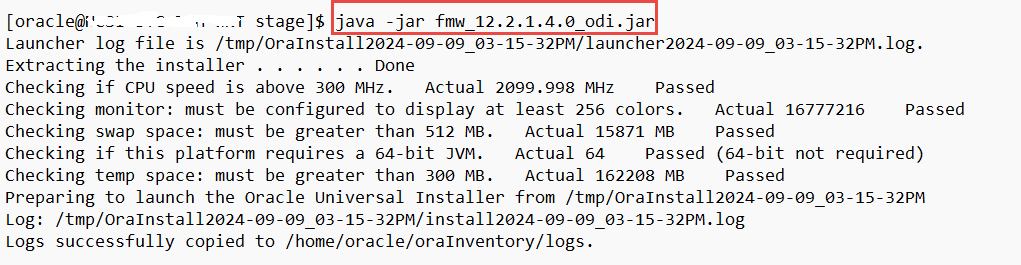
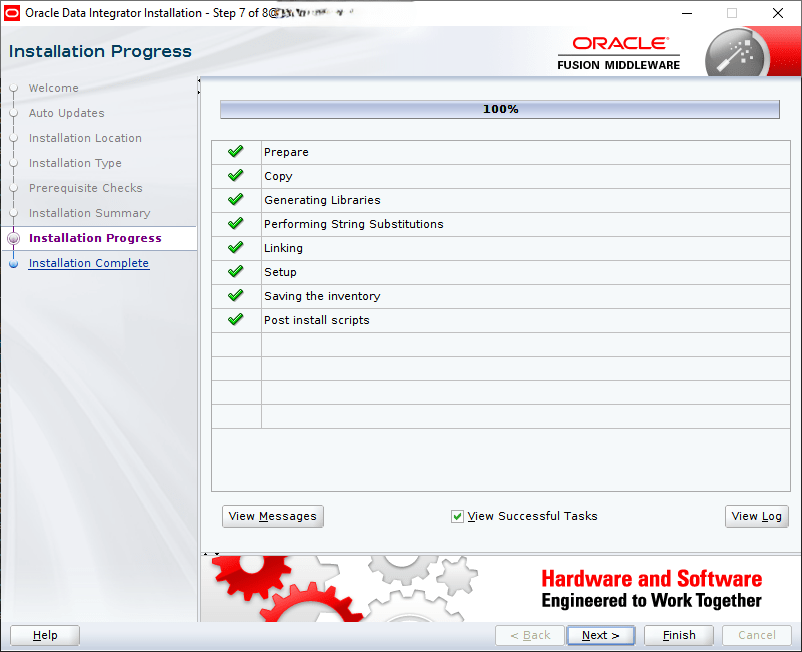
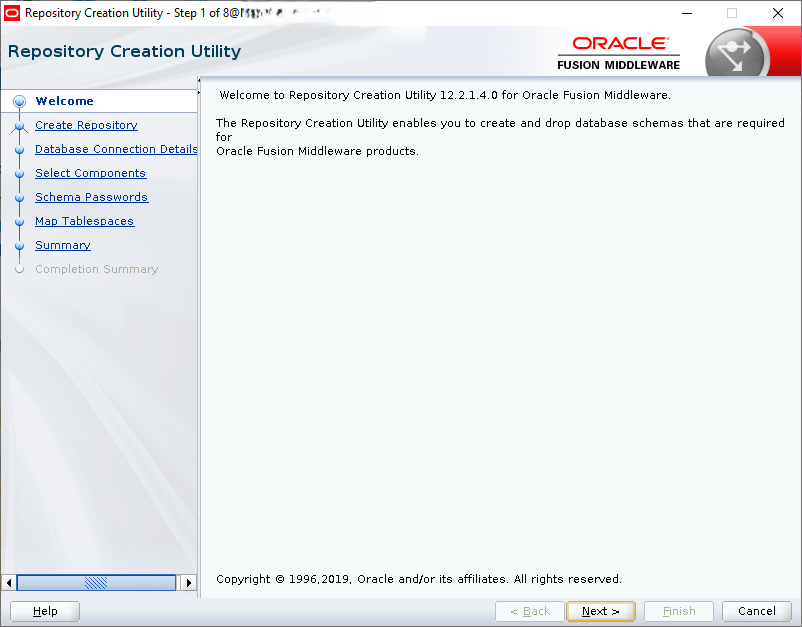
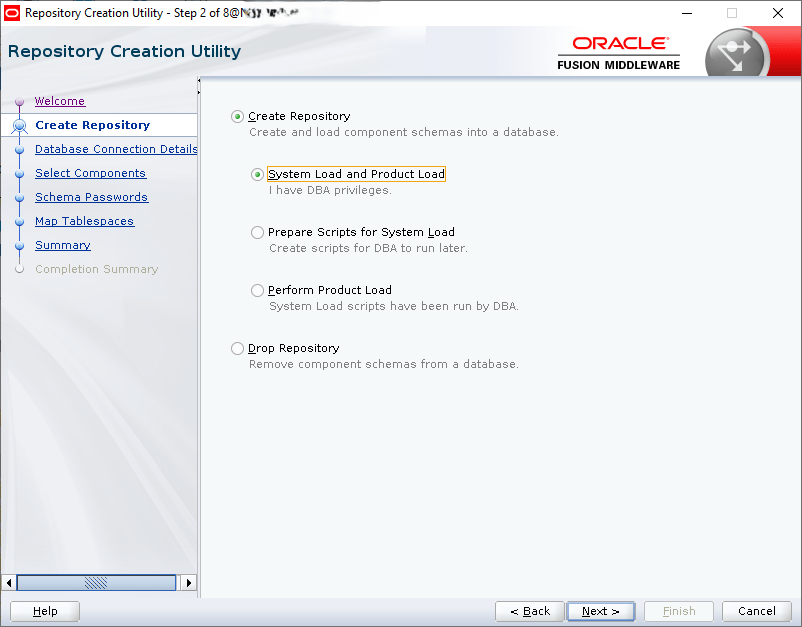
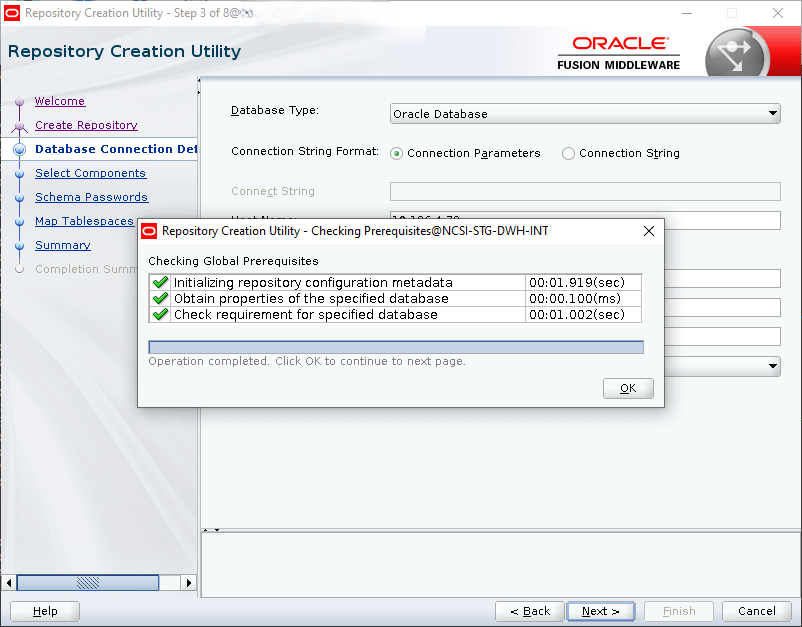
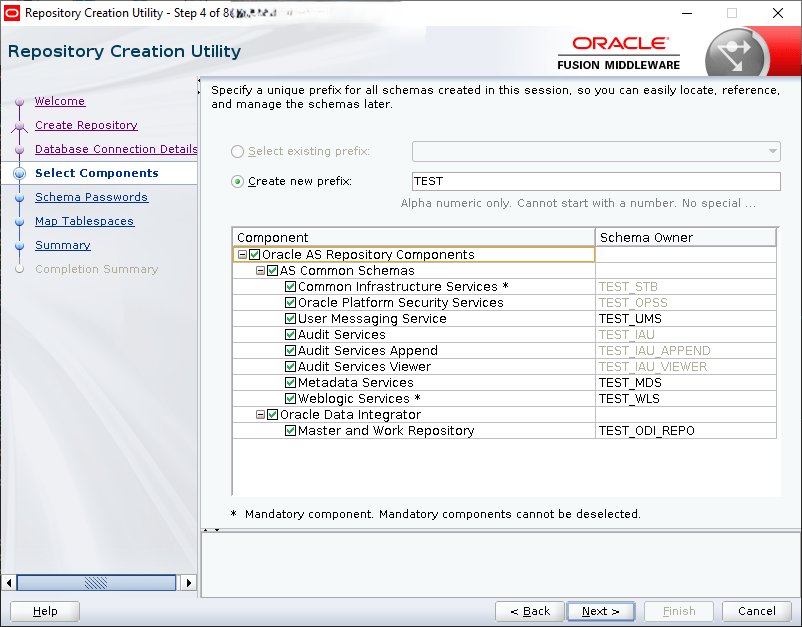
ODI 12.2.1.4.0 Installation on Oracle Linux 9.4


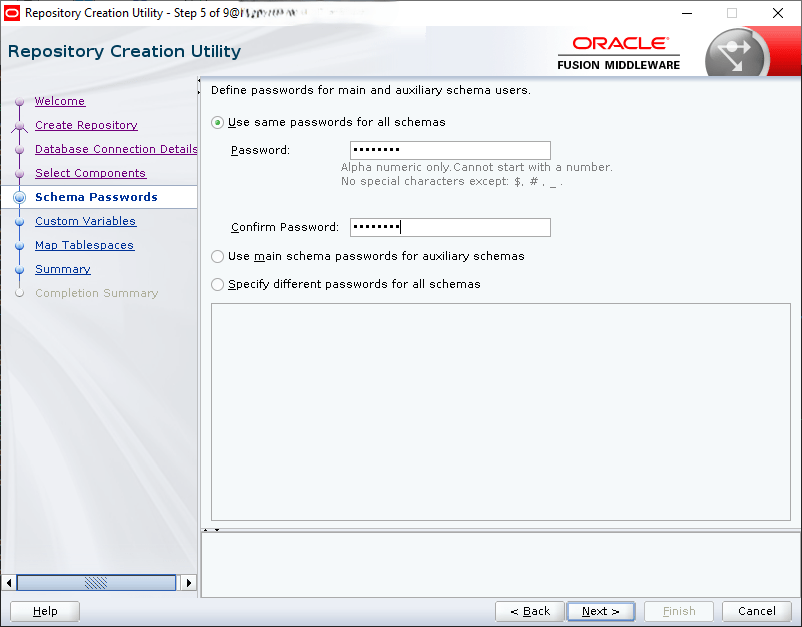
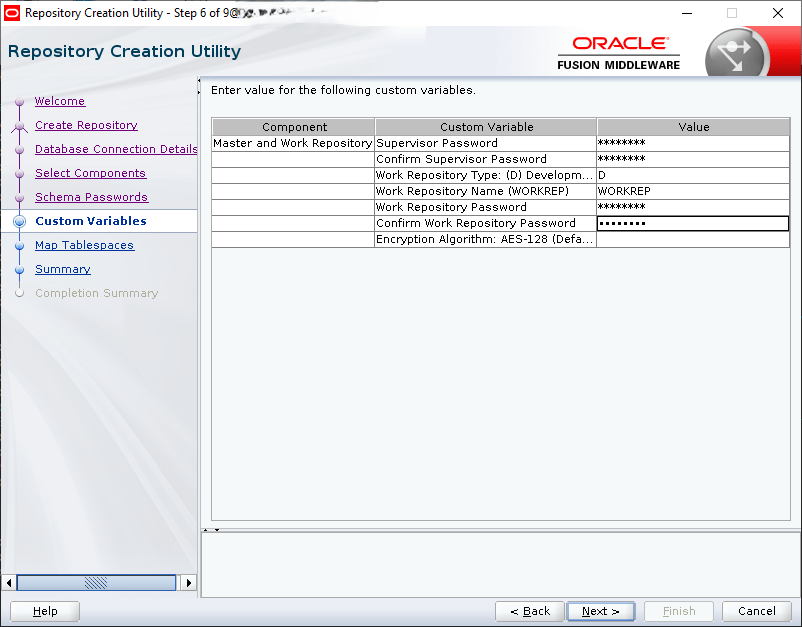
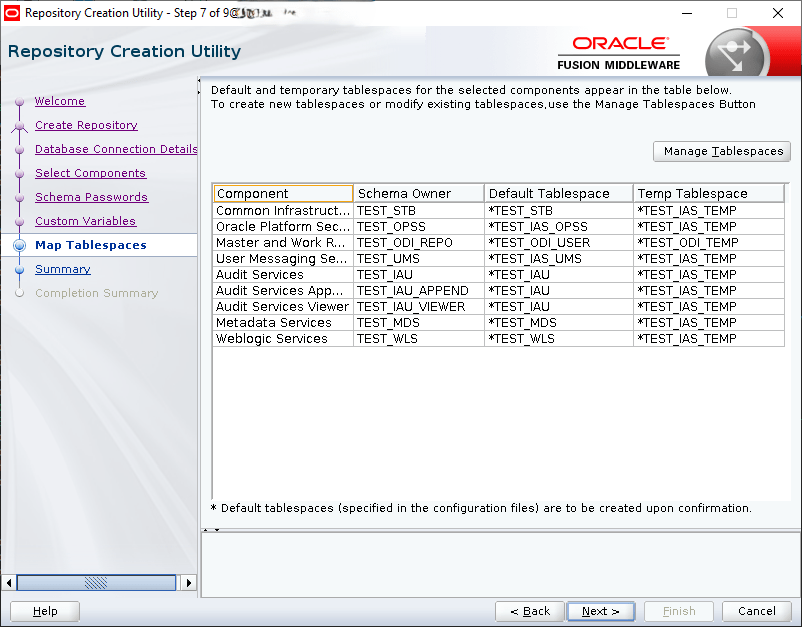
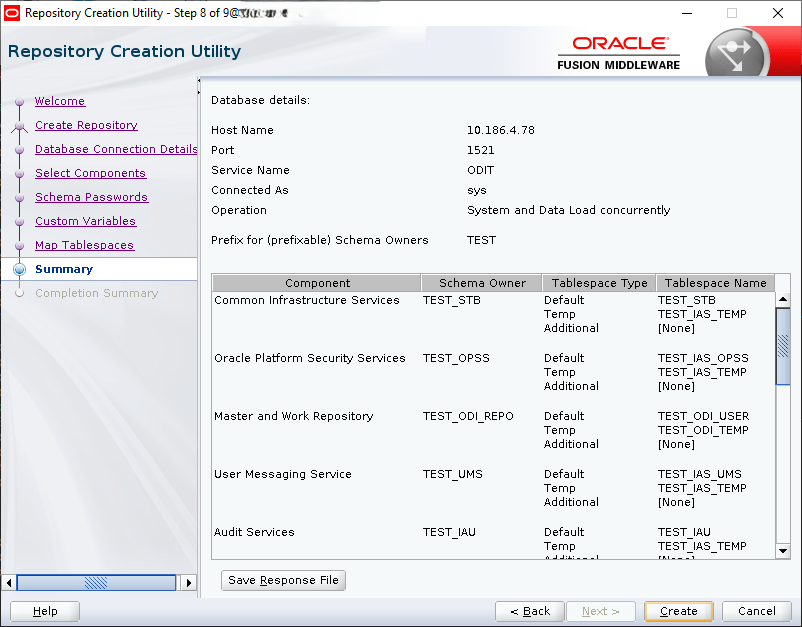
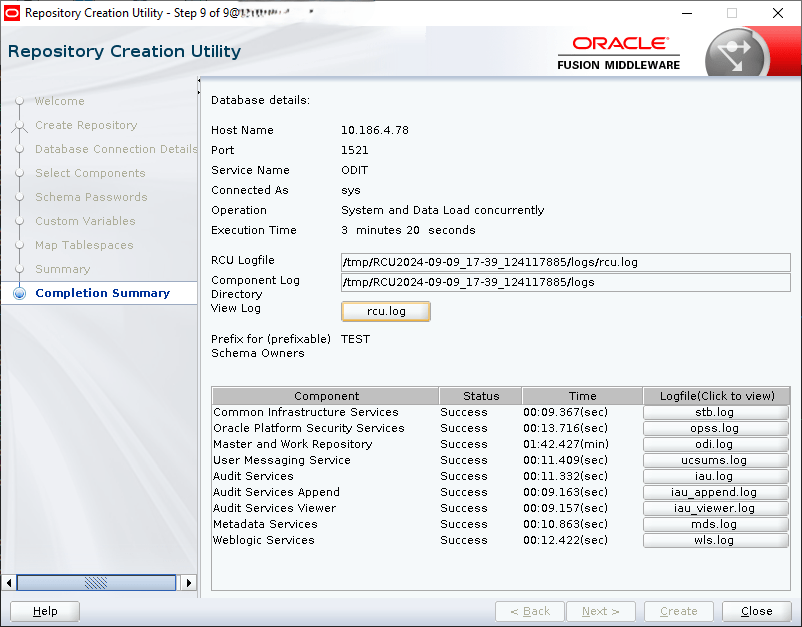
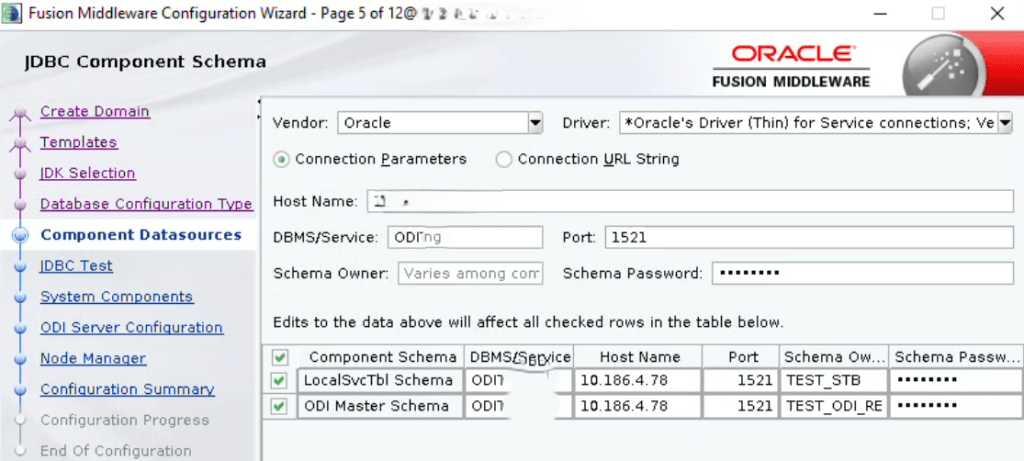
Create the ODI Repositories:


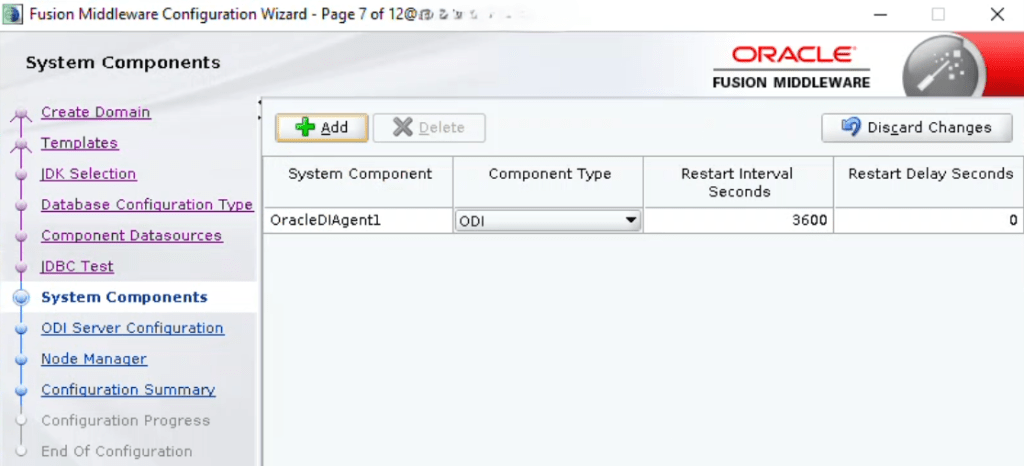
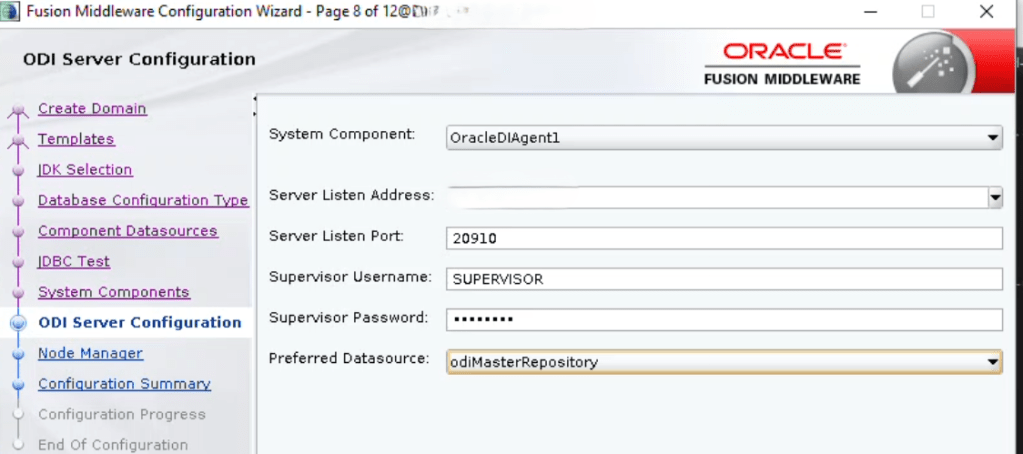
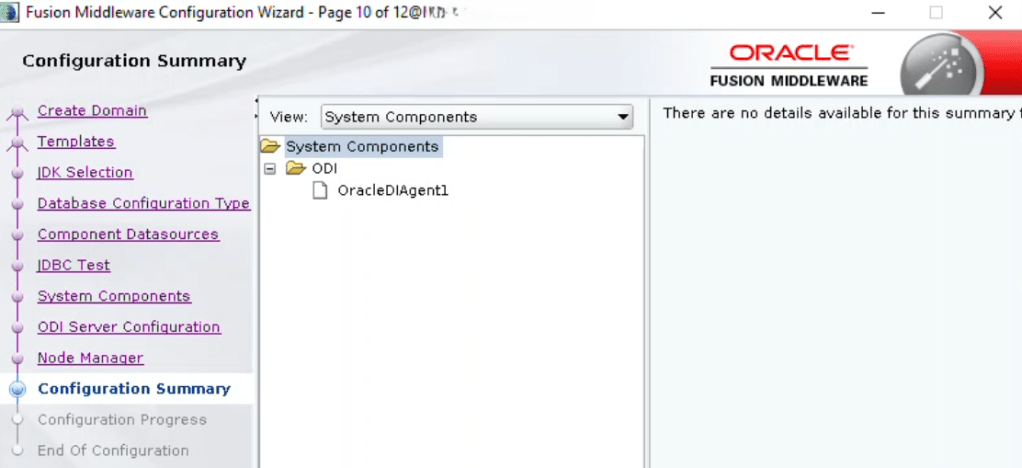
Create Standalone Agent
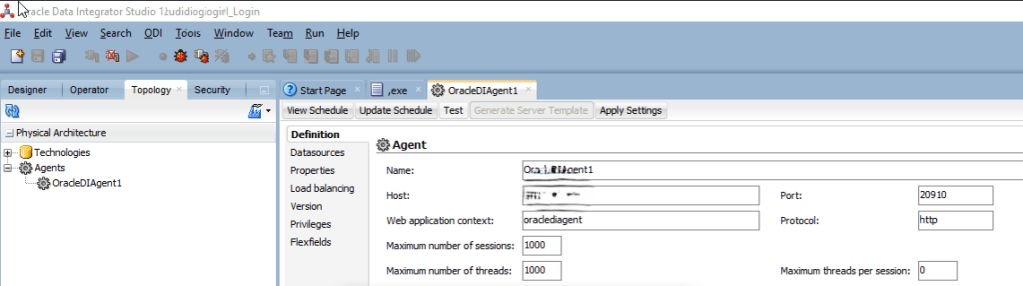
Connect to the ODI Studio, create connection to the ODI database, and then create new agent:
Topology Tab è Physical Architecture è Agents è New Agent
Agent Name: OracleDIAgent1
Host: 11.11.11.11
Port: 20910
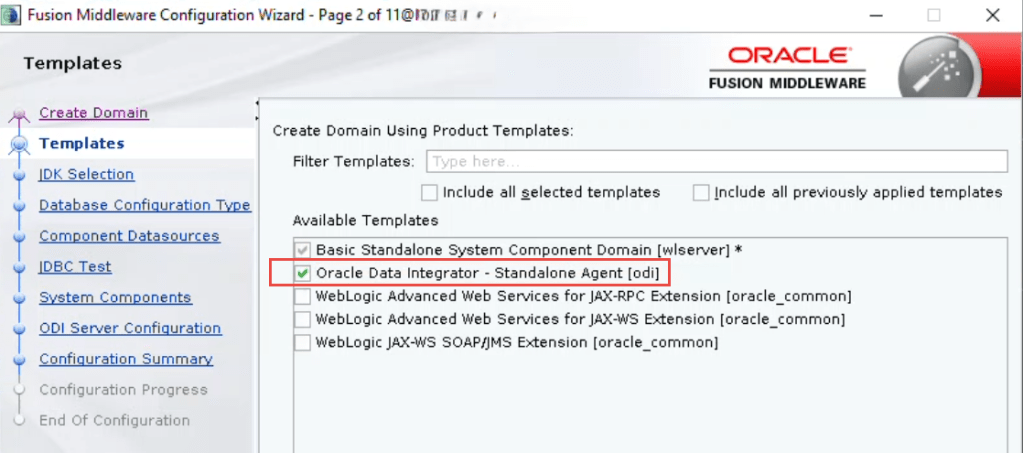
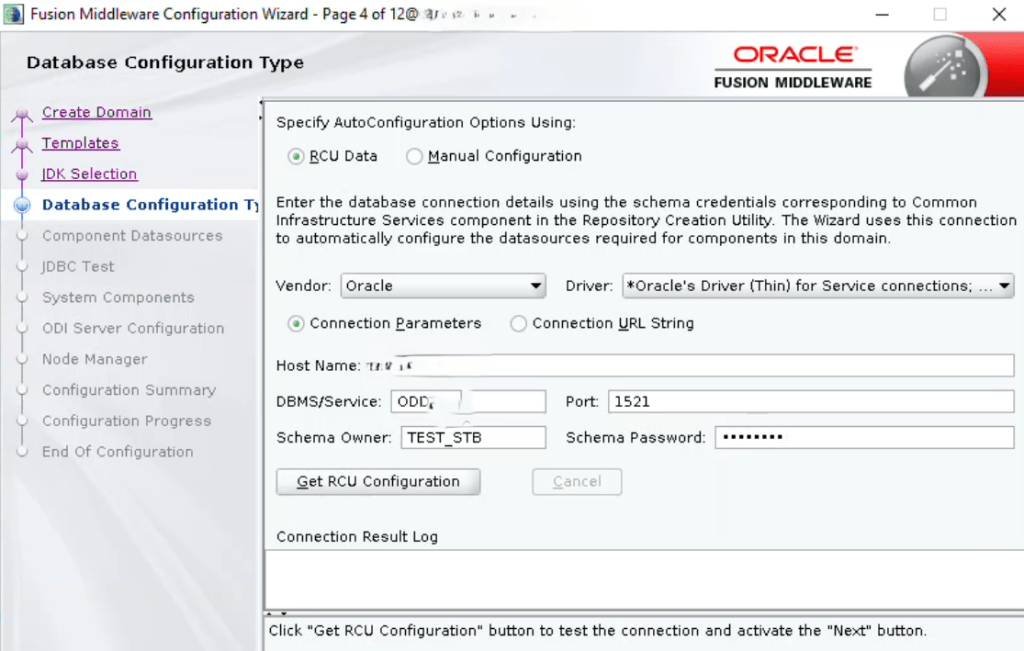
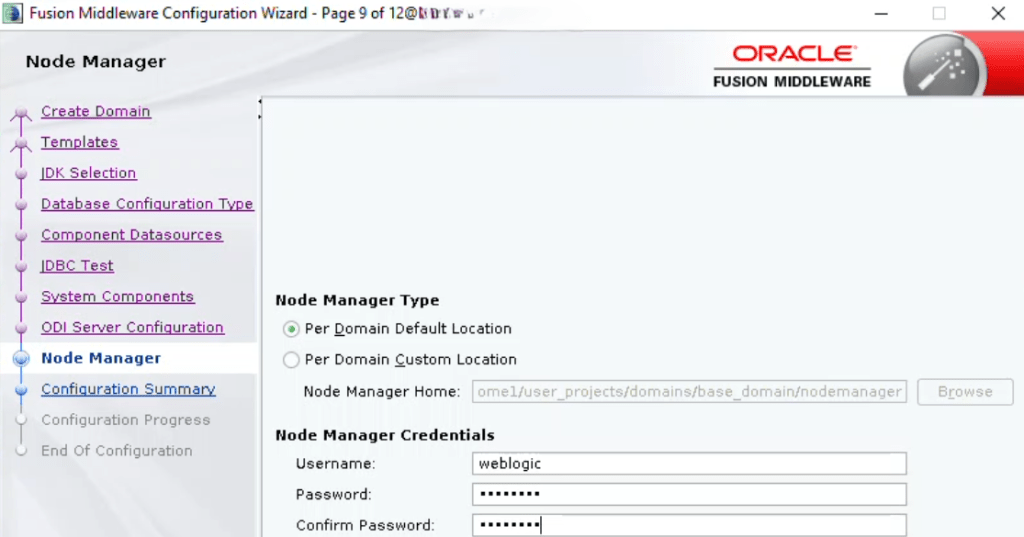
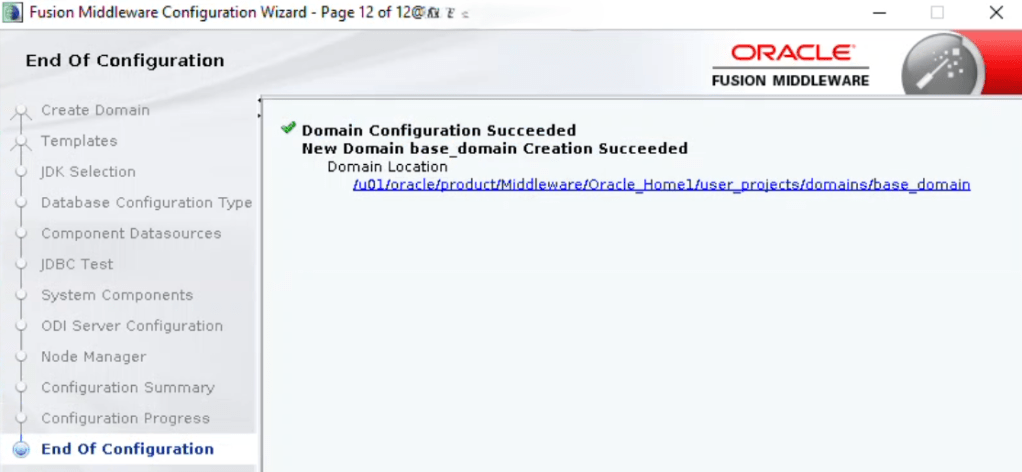
Create Standalone Domain for the Agent


Agent Startup-Shutdown Procedure:
Login as oracle user
cd /u01/oracle/product/Middleware/Oracle_Home1/user_projects/domains/base_domain
To start the agent: nohup ./agent.sh -NAME=OracleDIAgent1 &
To stop the agent: ./agentstop.sh -NAME=OracleDIAgent1
You can also start the node manager first and use it to start the agent.
